Add a page
Note: If you're migrating from a Website Builder version 6 site to a Website Builder version 7 site, see the Note in Step 6.
- Log in to your HostingDude.com account.
- In your Products list, click Website Builder, and then click Manage next to the account you want to use.
- Click Edit Site.
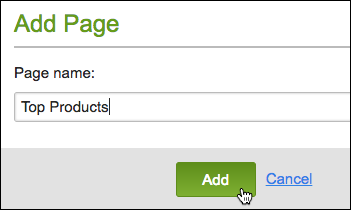
- Click the New Page button in the left-hand toolbar, fill in the Page name field and click Add.

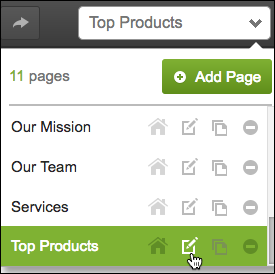
- Select your new page from the page menu and click the pencil-paper (edit) button.

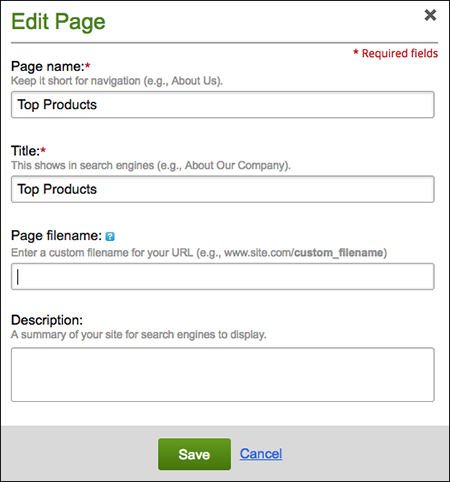
- In the Edit Page dialog, fill in the fields — including the Page filename field.

Note: Use a Page filename that identifies your page's specific purpose or content. (It need not match the Page name.) Keep it to 1-4 words, separating each with a hyphen or underscore. Include the file extension (.html or .php) only if you're migrating from Website Builder version 6.

- When you finish adding page content, click Preview.
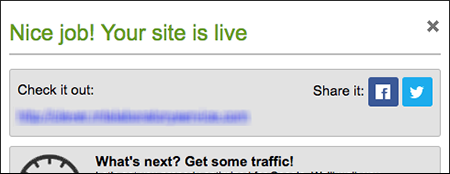
- When you're satisfied with the results, click Publish, then click the confirmation window link to see the page live on your site.

Next step
- See Organize pages with navigation menus to help customers browse your site pages.