Organize pages with navigation menus
With multiple-page sites, a navigation menu at the top of every page helps visitors find their way around. If you have lots of pages, add submenus.
- Log in to your Website Builder account.
- Click Edit Site.
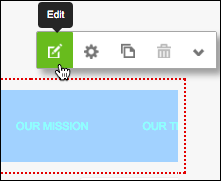
- Click on your website's menu/navigation pane (without clicking any of its links) and click Settings.
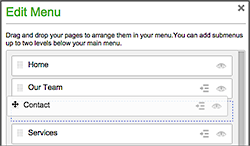
- Use Edit Menu to drag and drop your pages in the order you want them to appear in the navigation menu.
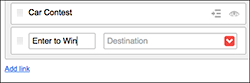
- If you need to add more navigation/menu links, click Add link, enter a page title in the new, blank field and use the Destination menu or field to link the menu item to a new page.
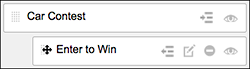
- To hide a menu (e.g. a sales page), click that item's eye icon.
- To create a submenu, click that item's indent icon. Or click on a menu item's dotted grid and drag the item under and to the right of another menu item.
- Click Save to apply the changes and close the Edit Menu window.
- Take a look at your new menu.

- If you need to change it, start again with Step 3. Once you're happy with the results, click Publish to update your site online.
Note: If your website does not yet have a navigation menu, click the Navigation tool in the left-hand toolbar and the menu is added to the page.![]()