HTML tricks and tips
Sometimes you reach a point where you need to do a little bit of customization and adding a small snippet of HTML is a neat way to spice up a campaign. We do stress the importance of not over-using these html tricks and tips. If you have many style changes to make, a custom style is the way to go.
Also, accuracy counts! Always make sure you're using the html snippets correctly. Proof read, look for typos and test before sending out your email to your subscribers :)
Now, onto the tricks and tips:
- How to center text
- How to change the font color
- How to change the font size
- How to change the font type
- How to combine multiple style changes
- How to justify text
How to center text:
The code:
<center>This Will Center My Section Title</center>
What to look out for: Make sure you "close" the tag at the end with a / like this: < / center>
Before (in edit mode):

After (in preview mode):

How to change the font color:
The code using a color name:
<span style="color:red">This text must stand out!</span>
Using a hex code: You can select an even more specific color by using the color's hex code. That's a 6 character code that looks like this: #FF0000
You can find a list of codes here, or grab the exact code for a color on your website by using a color picker program.
The code using a color hex code:
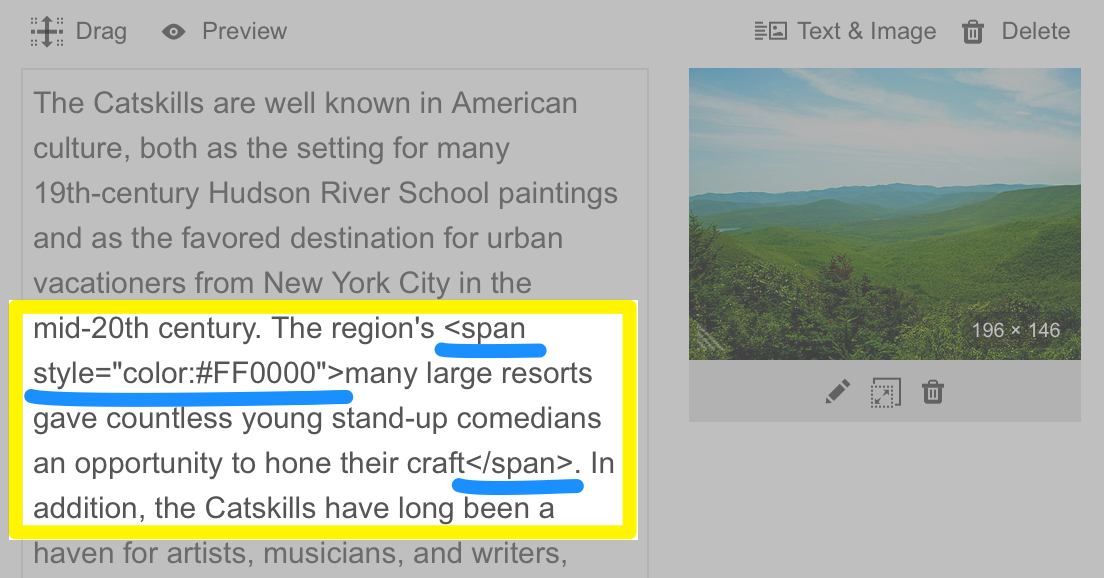
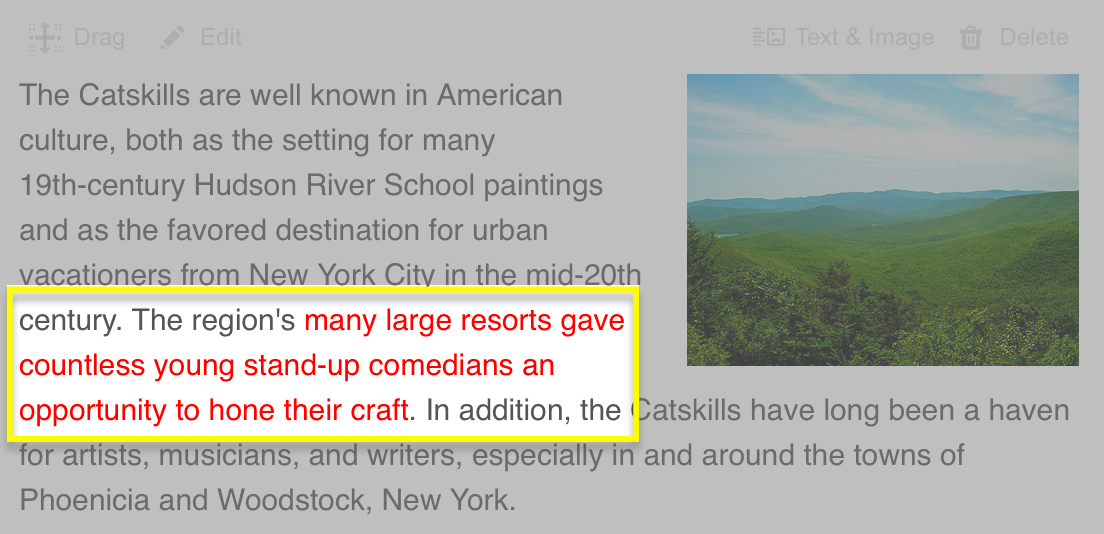
<span style="color:#FF0000">This text must stand out!</span>
What to look out for: Make sure you "close" the tag at the end with a / like this: < / span>
Before (in edit mode):

After (in preview mode):

How to change the font size:
The code:
<span style="font-size:30px">Big Text!</span>
Adjust the pixel number to change the size of the text. A smaller number makes the font size smaller and a larger number makes the font size bigger.
What to look out for: Make sure you "close" the tag at the end with a / like this: < / span>
Before (in edit mode):

After (in preview mode):

How to change the font type:
The code:
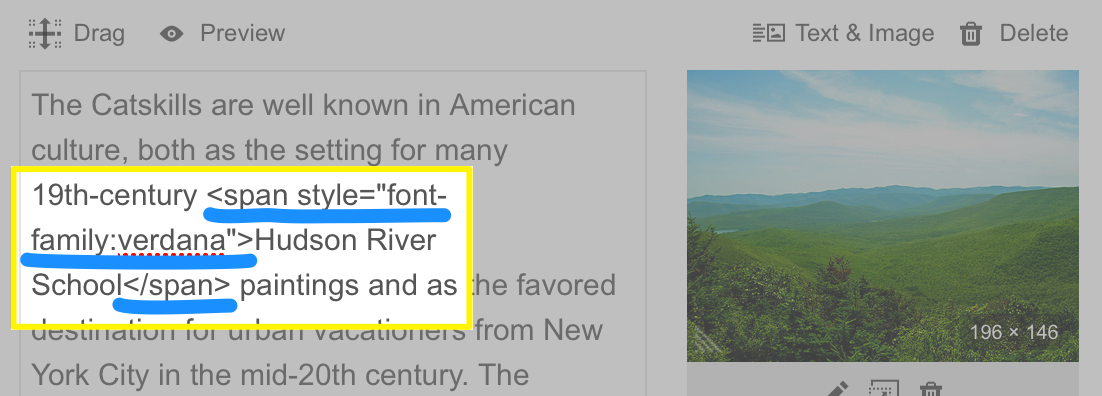
<span style="font-family:verdana">Verdana text</span>
What to look out for: Make sure you "close" the tag at the end with a / like this: < / span>
Before (in edit mode):

After (in preview mode):

Now, lets put it all together!
The code:
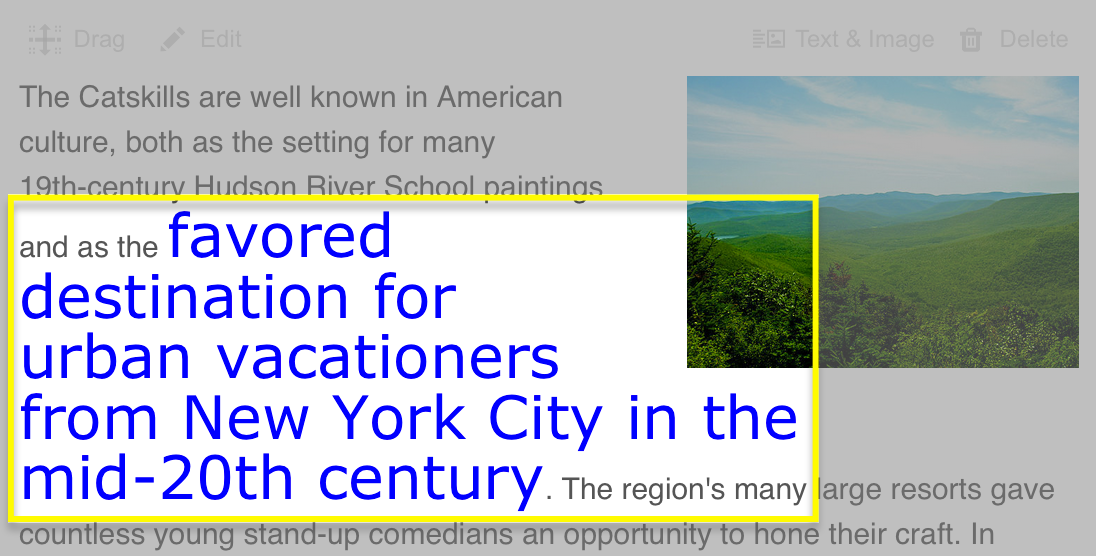
<span style="font-family:verdana; color:blue; font-size:30px">Some blue text that really stands out!</span>
Before (in edit mode):

After (in preview mode):

How to justify text:
The code:
<p style="text-align:justify">Enter the paragraph here</p>
What to look out for: Make sure you "close" the tag at the end with a / like this: < / p>
Before (in edit mode):

After (in preview mode):

Next step
- After you've edited your campaign to your liking, go ahead and send it to your subscribers!