Change text
You can change what you have written in a text box and copy, delete, or move the text. You also can change its size, style, and color.
- Log in to your HostingDude.com account and open your product. (Need help opening your product?)
- In your Products list click Website Builder, and then click Manage next to the account you want to use.
- Click Edit Site.
- Use the page menu to pick the page where you want to change the content of an existing text box.
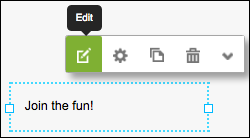
- Click the box and choose Edit.
- Select text in the text box that you want to change and click the appropriate button in the text editor.
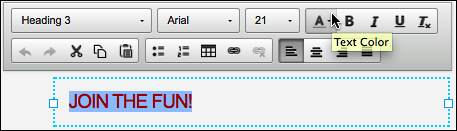
Note: In addition to applying bold, italic, and another color or size to text; you can change its font and alignment, add bullets or numbers to paragraphs and convert paragraph-style text to a heading or block style. (see Link text and Adding and editing tables).
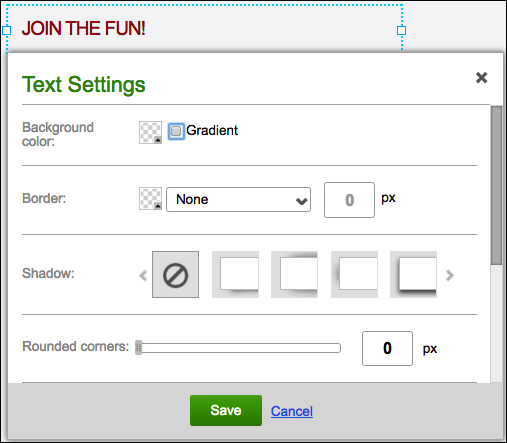
- To make changes to text box itself, click the box and choose Settings.
Text box toolbar Button Name Action 
Edit Displays the text editor in which you can change text's color, font, styling, and other details. 
Settings Opens the Text Settings window; see Change text box in Next Steps below. 
Make a Copy Duplicates the text box and places the duplicate on the page overlapping the original. 
Delete Removes the text box. 
More Displays a menu to control the layer position of the selected text box, lock/unlocks its page position, shows it on all site pages, or hides it from your mobile site. - Click Publish to update your site online.
Next steps
- To change what your text says, rather than its appearance, see Add text.
- To change a text box's background color, size, border, and other details, see Change text box.