Dreamweaver CS6: Publish your website
After building your website with Adobe Dreamweaver®, you can publish it to your hosting account.
You need to know the FTP settings for your hosting account. To find information about your FTP settings, see:
Publishing your website with Dreamweaver CS6 requires you to complete two tasks:
- Define a Site — Tells Dreamweaver where to find the files for your website on your computer and how to connect to your hosting account.
- Put Your Files — Moves your site's files from your computer to your hosting account, making them accessible to visitors going to your domain name in a Web browser.
To Publish Your Website with Dreamweaver CS6
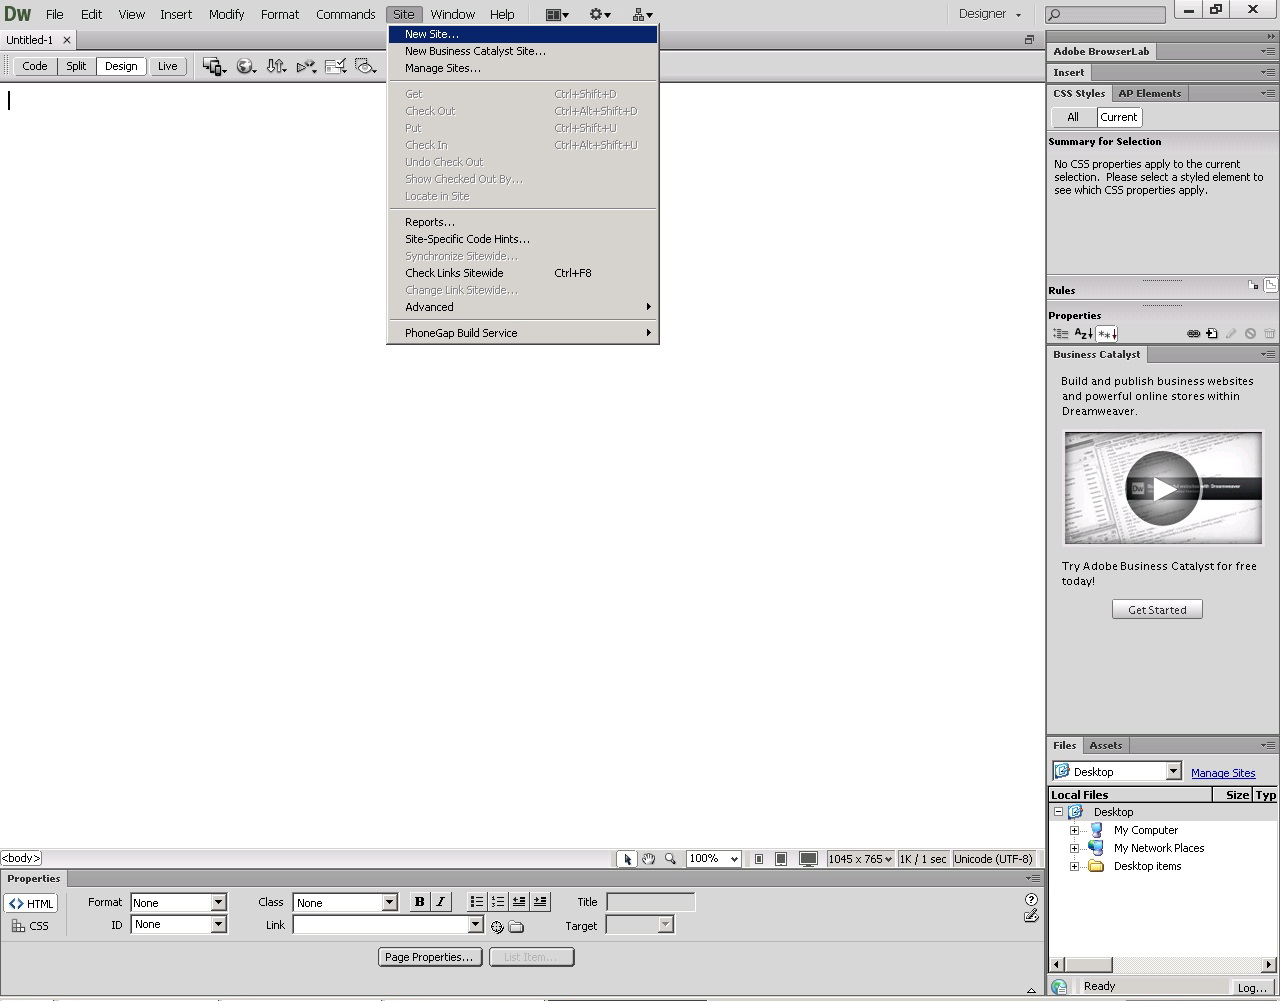
- From the Site menu, select New Site.
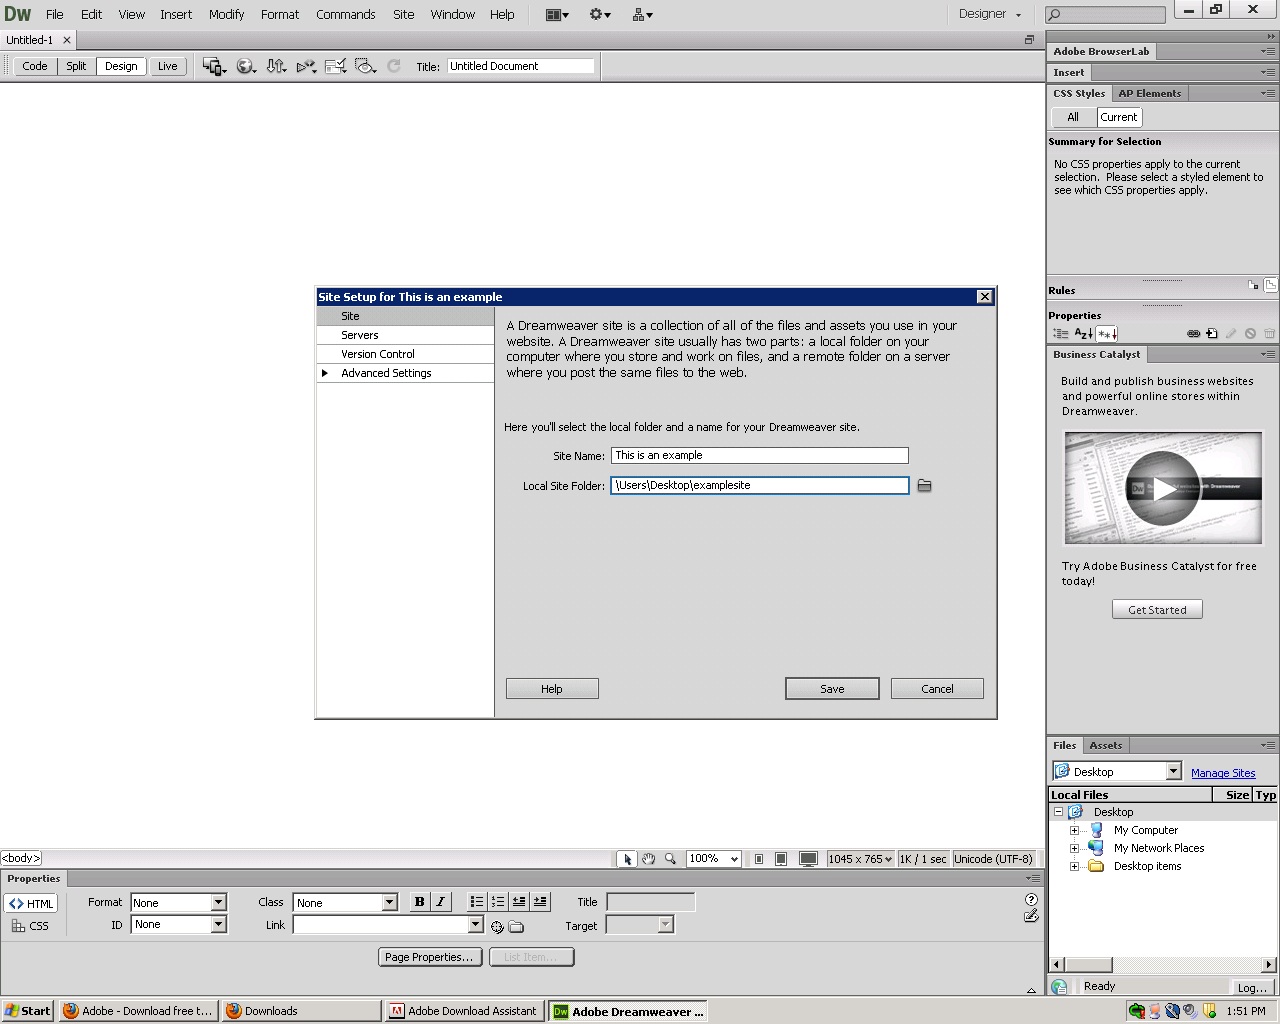
- Enter a Site Name, and then select your Local Site Folder.
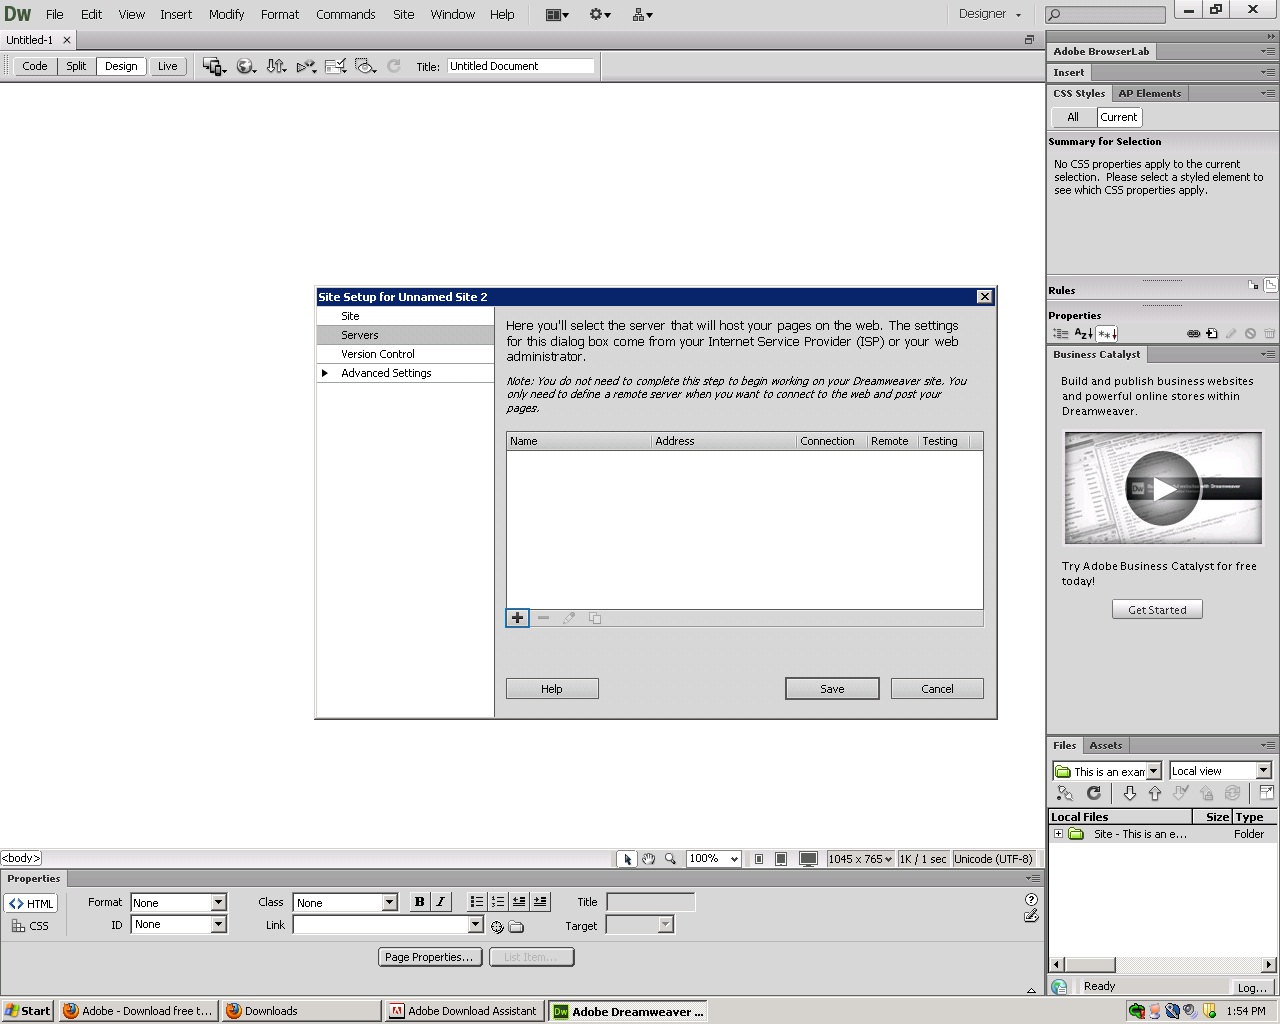
- Click Servers, and then click Add new Server.
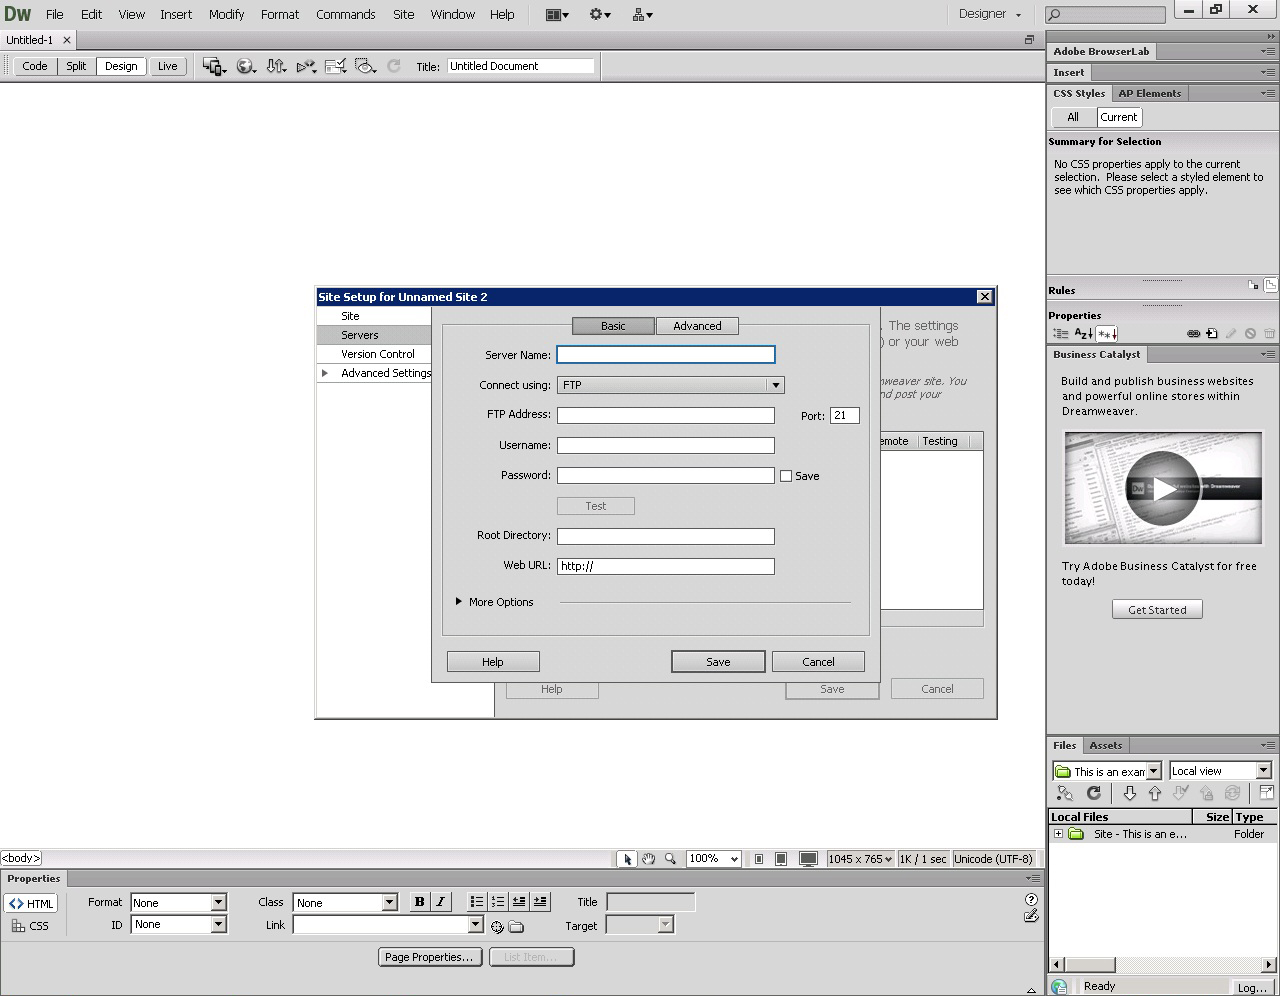
- Complete the following fields, and then click Save:
- Server Name — Enter a name for this server connection.
- Connect Using — Select FTP.
- FTP Address — Enter your hosting account's primary domain name.
- Username — Enter your hosting account's user name.
- Password — Enter your hosting account's password.
- Root Directory — Enter the directory for the domain name you want to use.
- Web URL — Enter your website's URL.
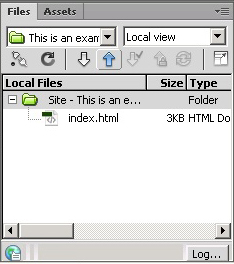
- From the Files window, select the files or folders to publish, and then click Put Files.
Note: As a courtesy, we provide information about how to use certain third-party products, but we do not endorse or directly support third-party products and we are not responsible for the functions or reliability of such products. Dreamweaver is a registered trademark of Adobe Systems in the United States and/or other countries. We are not affiliated with, endorsed or sponsored by Adobe or Adobe products. Adobe product screen shots reprinted with permission from Adobe Systems Incorporated.