Add an image using Page Builder in WordPress
Chances are you are ready to add images or photos to your WordPress site.
- Open Page Builder in WordPress.
- Click Basic Modules in the right sidebar.
Note: If the sidebar is not visible or disappears, click Add Content in the top toolbar to show it again.
- Click Photo, then drag and drop the photo box to a place on the page.
- From the Photo Settings dialog box, use the Photo Source to choose Media Library or URL.
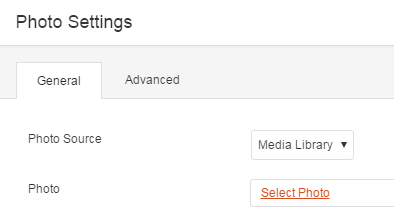
- Use the remaining fields in the Photo Settings dialog box as needed.
- Click Save.
- If you want to adjust the image in other ways, see Change your images using Page Builder in WordPress.
- Click Done located on the top-right corner.
- Click Publish Changes. If you do not want these changes to go live yet, click on Save the Changes and Exit option.
| If you choose | Then |
|---|---|
| Media Library | Click one of the Select Photo tabs to choose a photo and click Select Photo.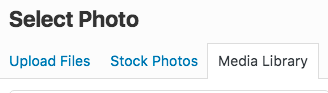 |
| URL. | Paste a url into the Photo field. |
| Setting | Description |
|---|---|
| Crop | Select the following image cropping options; Landscape, Panorama, Portrait, Square, Circle, or not all. |
| Alignment | You can align your image to the left, center or right of the space it resides in. |
| Caption | Your image caption can be displayed On-Hover, Below the Photo, or not at all. |
| Link | You can link your image to a URL, a Lightbox, Photo File or Photo Page. |